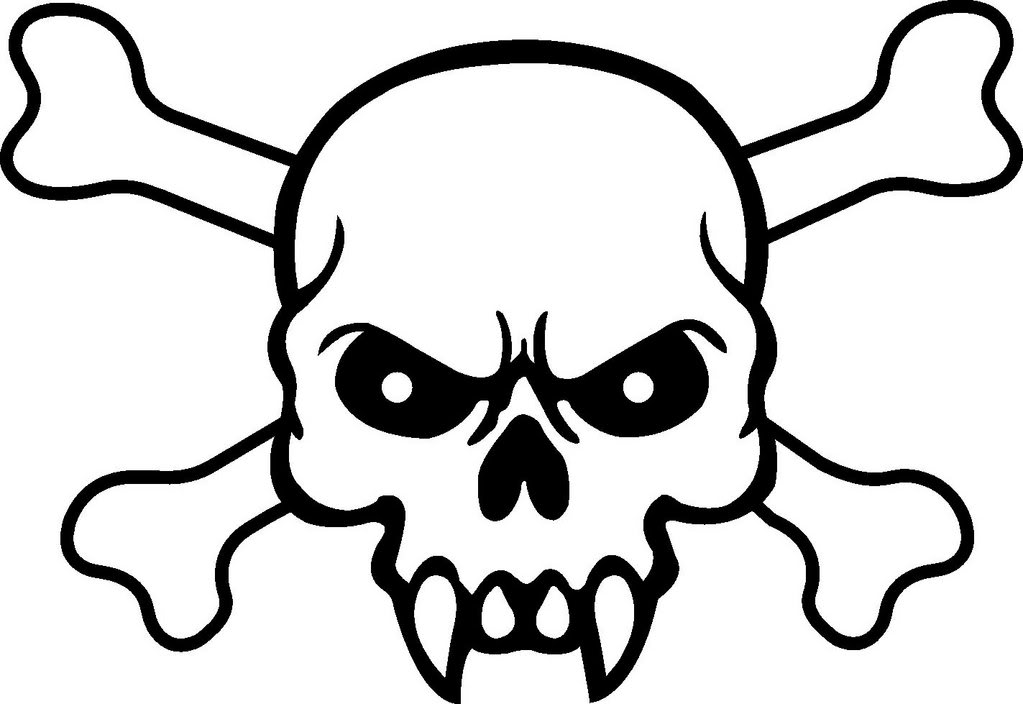
Unveiling the Anatomy of Art: A Step-by-Step Guide to Drawing a Skull with Crossbones
The Initial Sketch: Laying the Foundation
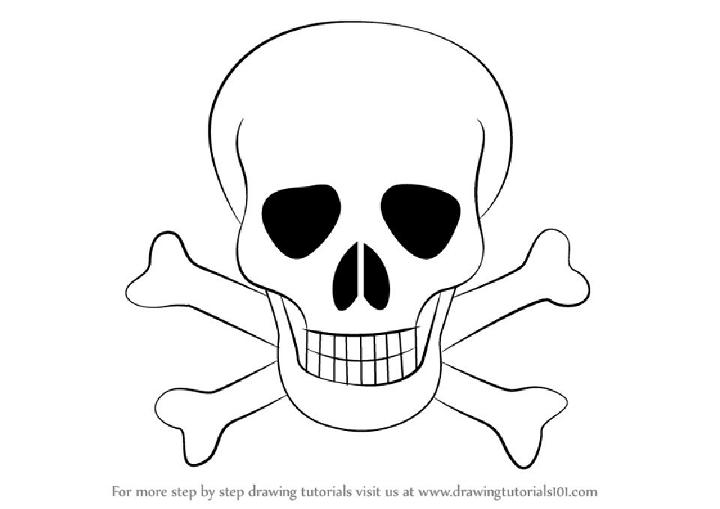
Beginning the process of drawing a skull with crossbones involves a balance of artistic imagination and understanding the basic structure. We start with a simple oval, the fundamental shape that will eventually become the cranium. Think of it as a slightly elongated egg, tilted at a small angle. This initial oval acts as the basic design, the framework upon which we’ll build the intricate details. Don’t worry about perfection at this point; consider it a rough outline, a subtle suggestion of the skull’s overall shape. A light touch with the pencil is essential, allowing for easy adjustments as we continue. Picture this as a gentle process, a give-and-take between your vision and the paper, where each stroke contributes to the developing artwork.
Next, we introduce the jawline. Imagine a smaller, inverted oval placed beneath the larger one. This lower oval will define the mandible, the movable bone that gives the skull its characteristic form. Connect the two ovals with gentle, curving lines, creating the basic outline of the skull. Remember, skulls aren’t perfectly symmetrical; a slight asymmetry adds character and realism. Consider the subtle variations found in nature, the charming quirks that make each skull unique. Approach this process as a shaping exercise, refining the form until it aligns with your artistic sense.
Now, let’s include the crossbones. Two elongated, slightly curved lines, intersecting at a central point beneath the skull, will form the foundation of the crossbones. These lines should be angled, creating a sense of depth and perspective. Imagine these bones as aged remnants, pieces of a past era, adding a touch of dark elegance to your artwork. The subtle curve in each bone adds a sense of natural form, preventing them from appearing too stiff or artificial. Allow your hand to flow naturally, embracing the natural variations that occur with each stroke.
Refine the initial sketch, erasing any unnecessary lines and solidifying the basic shapes. Pay close attention to the proportions, ensuring that the skull and crossbones are balanced and harmonious. This is the moment where the essence of your drawing begins to emerge, where the rough sketch becomes a coherent composition. Embrace the iterative nature of art, allowing yourself to experiment and refine until you achieve the desired visual impact. Think of this as a process of discovery, where each adjustment brings you closer to your artistic goal.
Sculpting the Details: Adding Depth and Dimension
Defining the Eye Sockets and Nasal Cavity
The eye sockets, or orbits, are crucial features that give the skull its haunting stare. Within the upper part of the skull’s oval, carefully sketch two dark, almond-shaped voids. These sockets should be slightly asymmetrical, adding to the skull’s natural appearance. Imagine these sockets as windows into a deep space, dark and mysterious, capturing the essence of mortality. Consider the subtle nuances of light and shadow, using shading to create a sense of depth and volume within each socket.
Beneath the eye sockets, we create the nasal cavity, a triangular or heart-shaped opening that adds to the skull’s skeletal structure. This cavity should be positioned centrally, between the eye sockets, and shaded to create a sense of depth. Visualize the nasal cavity as a hollow space, an opening that draws the eye and adds to the skull’s enigmatic presence. Employ cross-hatching or stippling techniques to create subtle variations in tone, enhancing the dimensionality of the cavity.
The jawline requires careful attention to detail. Add subtle curves and indentations to the mandible, representing the teeth sockets and the overall structure of the jaw. These details should be carefully rendered, adding texture and realism to the skull. Think of the jaw as a complex mechanism, a testament to the intricate design of nature. Pay close attention to the subtle variations in form, capturing the essence of bone structure and texture.
Refine the crossbones, adding subtle curves and textures to each bone. Imagine these bones as aged and worn, remnants of a long-forgotten time. Use shading and line variations to create a sense of depth and dimension, enhancing the realism of the crossbones. Consider the interplay of light and shadow, using highlights and shadows to accentuate the contours of each bone.
Adding Texture and Shading: Bringing the Skull to Life
Mastering the Art of Shading
Shading is the key to transforming a flat drawing into a three-dimensional piece. Begin by identifying the light source, the direction from which light is illuminating the skull. This will dictate the placement of highlights and shadows, creating a sense of depth and volume. Imagine the light as a sculptor’s tool, revealing the contours and textures of the skull. Use a soft pencil or blending tool to create smooth transitions between light and shadow, enhancing the realism of your drawing.
Apply darker shades to the areas furthest from the light source, creating shadows that define the skull’s form. Pay close attention to the subtle variations in tone, using shading to emphasize the curves and indentations of the skull. Think of shading as a language, a way to communicate the three-dimensional form of your subject. Employ cross-hatching or stippling techniques to create texture and depth, adding visual interest to your drawing.
Highlight the areas closest to the light source, creating a sense of luminosity and shine. Use a soft eraser or blending tool to create smooth transitions between highlights and shadows, enhancing the realism of your drawing. Imagine the highlights as points of emphasis, drawing the viewer’s eye to the most prominent features of the skull. Consider the reflective qualities of bone, using highlights to create a sense of sheen and texture.
Don’t be afraid to experiment with different shading techniques, exploring the interplay of light and shadow. Practice creating smooth gradients and subtle variations in tone, enhancing the dimensionality of your drawing. Remember, shading is an iterative process, a journey of discovery where each stroke contributes to the overall effect. Embrace the imperfections, allowing them to add character and depth to your artwork.
Adding the Finishing Touches: Refinement and Detail
Fine-Tuning the Details
Now, it’s time to refine the details, adding the final touches that will elevate your drawing to a new level of realism. Pay close attention to the subtle curves and indentations of the skull, enhancing the anatomical accuracy of your artwork. Imagine the skull as a complex structure, a testament to the intricate design of nature. Use a sharp pencil to define the edges and contours, adding clarity and precision to your drawing.
Add subtle textures to the bones, representing the aged appearance of the skull and crossbones. Use fine lines and stippling techniques to create a sense of roughness and imperfection, enhancing the realism of your artwork. Think of these textures as the marks of time, adding character and depth to your drawing. Consider the subtle variations in texture, capturing the essence of bone structure and age.
Review your drawing from a distance, assessing the overall composition and balance. Make any necessary adjustments, ensuring that the skull and crossbones are harmoniously integrated. Imagine your drawing as a unified whole, where each element contributes to the overall visual impact. Step back and observe your artwork with a critical eye, allowing yourself to appreciate the subtle nuances and details.
Sign your artwork, adding your personal touch to your creation. This is the moment where your drawing becomes a unique expression of your artistic vision. Consider your signature as a mark of authenticity, a testament to your creative journey. Embrace the imperfections and celebrate the unique qualities of your artwork.
FAQ: Decoding the Skull and Crossbones
Frequently Asked Questions
Q: What are the best materials for drawing a skull?
A: A simple pencil, eraser, and drawing paper are sufficient for beginners. For more advanced techniques, consider using charcoal, graphite pencils of varying hardness, and blending tools. The tools are less important than practice!
Q: How do I make my skull look more realistic?
A: Focus on accurate proportions, detailed shading, and adding subtle textures. Observe real skull images or 3D models for reference. Also, don’t be afraid to add some personal style. Skulls aren’t all exactly alike.
Q: Why is the skull and crossbones a popular symbol?
A: Historically, it’s been associated with danger, piracy, and mortality. It’s a powerful symbol that evokes strong emotions. But also used in art, and drawing practice.
Q: Can I use this tutorial for digital art?
A: Absolutely! The principles of sketching, shading, and detail apply to digital art as well. Use layers effectively and experiment with digital brushes.

Skull And Cross Bones Stencil Clipart Best

Skull And Crossbones By Bettieb On Deviantart

25 Easy Skull Drawing Ideas How To Draw A

Skull And Crossbones, Vectors Graphicriver

Pin On Fun Custom Decals Fundecals.ca
