Starting Your Flamingo Art: A Simple Guide
That flamingo, the one with the bright pink feathers and a really elegant walk, it’s a popular thing to draw. We’re going to break down how to make a cartoon version, step by step. It seems easy, but getting the shapes right takes a bit of thought. We’ll walk through it, so you end up with something that looks good and you can be proud of.
It’s not just about copying a picture, it’s about learning a way to draw that you can use for other things. When you understand the basic shapes, it lets you be more creative. You can then add your own little touches and make it unique.
We begin with simple shapes. Think circles and ovals. These are like the bones of your flamingo. Getting these right at the start is important, because it affects how the whole drawing looks. We’ll show you how to tweak these shapes to get that classic flamingo pose.
We’ll also look at those special flamingo parts, like the long neck and curved beak. Getting these right makes the flamingo recognizable. We want to give you the tools to show off that special bird.
First Steps: Getting the Basic Shape Down
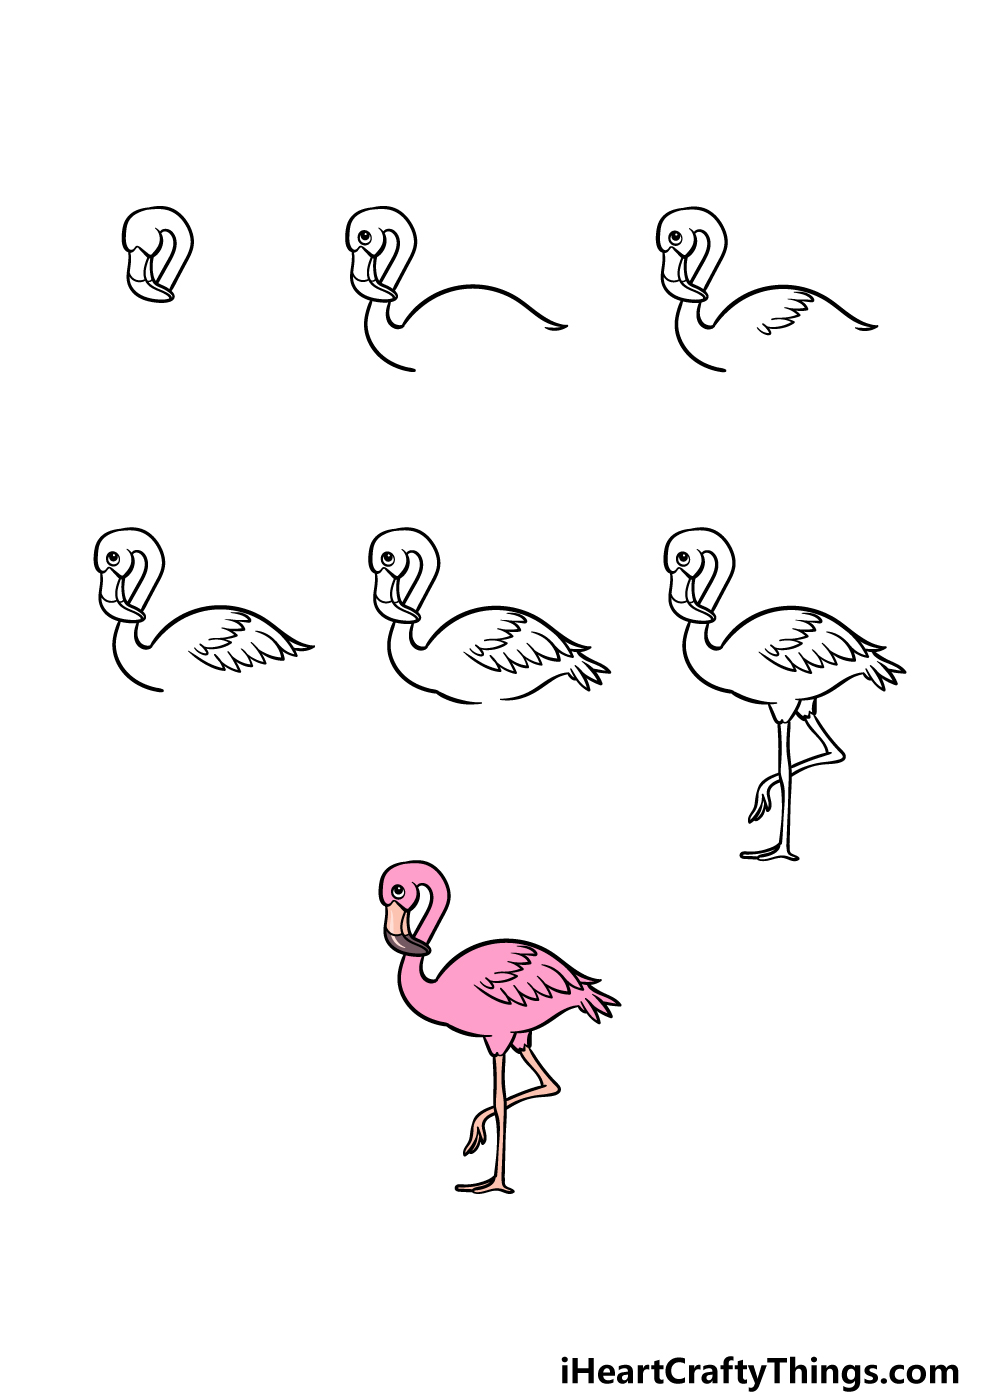
That first sketch is like the plan for your flamingo. We start with a big oval for the body, that’s the main part. Then, we add a long, thin neck, like two lines going up from the body. That gives it that really long neck, which is a big part of what flamingos are known for.
After the neck, we put a smaller circle or oval on top for the head. This will later become the beak and face. Then, we add the legs, like two thin lines going down from the body. Angle them a little to make it look like it’s standing naturally.
The secret is to draw lightly at the beginning. That way, you can easily change things as you go. Think of it as making a wire frame, like the skeleton of your bird. We just want to get the general shape and pose right for now.
Remember, this sketch is just a guide. You can try different poses and shapes to see what you like. It’s about exploring and getting a good base to start with.
Making it Look Real: Defining the Shape
Getting the Body and Neck Right
With the first sketch done, we now make the flamingo’s shape more clear. The oval for the body becomes smoother and more natural. We add some curves to make it look round and elegant. The neck, which was just lines, is now gently curved to show how it moves.
How the neck connects to the head is important. We carefully shape the head, including the flamingo’s curved beak. This curve should be smooth, adding to the bird’s grace. We pay close attention to the beak’s shape, as it’s a key feature.
The legs are also refined, with small curves to show their slim shape. We make sure the legs are the right size compared to the body and neck, so it looks balanced. The feet, often simple shapes, are added at the end.
At this point, we want to remove any rough lines and make everything smooth. The goal is to have a clean, nice shape that shows what a flamingo is. This will make the final drawing look much better.
Adding the Details: Bringing it to Life
Face and Feathers
Now, we add the smaller details that make our cartoon flamingo interesting. The eyes, often just circles or ovals, are placed to give it some personality. We add a small, dark dot to each eye, to give it a look. The beak is made more clear, with lines to show its texture and shape.
The feathers, a big part of the flamingo’s look, are shown with small lines and curves. We add lines along the body and wings to suggest feathers. These lines should be soft, to show the flamingo’s soft feathers. We might add a few lines for the wing feathers, and a few for the tail.
The legs are also made more detailed, with lines to show their slim shape. We can add lines to show the joints and muscles, to make it look a bit more real. Keep the lines simple, to keep that cartoon style.
Finally, we add any little extras that give the flamingo character. This could be a small bunch of feathers on the head, or a curve to the tail. These small details can make a big difference.
Color and Shade: Making it Pop
That Pink Color
The flamingo’s pink color is what makes it stand out. We start by adding a base layer of pink to the body, neck, and legs. The exact pink can be different, depending on what you want. A lighter pink can look soft, a deeper pink can look bright. Use a gradient effect to show the curve of the body.
We then add shading to make the flamingo look like it has depth. We use darker pinks to show shadows, placing them along the edges of the body, neck, and legs. This shading adds dimension and makes it look more real.
The beak, often black or dark gray, is carefully colored. We add highlights to the beak, using lighter shades to show its shine. These highlights add a bit of realism. We add a light shine to the eyes.
We add any other colors that make it look good. This could be a gradient on the wings, or a touch of color on the feet. The goal is to make the colors work well with the flamingo’s shape.
Final Touches: Making it Perfect
Finishing Up
The last step is to make sure everything looks good and ready to show. We look over the drawing, making any changes needed to make it perfect. We might add a simple background, like a gradient or a basic scene, to make it look better.
We make sure all lines are clean and sharp, and all colors are smooth. We remove any stray marks or mistakes. We check that all the lines are connected, and that no color goes outside the lines.
The drawing is then made ready for showing, either online or in print. We change the image size and quality as needed. We save the file in the right format, like JPEG or PNG.
Finally, we take a moment to enjoy our finished cartoon flamingo. We think about the whole process, from the first sketch to the final look, and appreciate what we’ve made. Now we can share it and maybe inspire others to draw too.
Common Questions
Q: What are the main shapes to use when drawing a cartoon flamingo?
A: We usually start with an oval for the body, lines for the neck and legs, and a circle for the head.
The body is an oval. The long neck is made with lines that are then curved. The head is a small circle, and the legs are straight lines. These basic shapes are the foundation.
Q: How do I make the flamingo’s neck look natural?
A: Curve the lines for the neck, don’t keep them straight.
Flamingo necks are known for their curve. Avoid straight lines. Instead, gently curve the lines, making it look natural. This adds a nice flow to the drawing.
Q: What colors should I use for the flamingo?
A: Mostly pink, with darker pinks for shading and black or dark gray for the beak.
Pink is the main color. Use different pinks for the body and legs. Use darker pinks for shadows. The beak is usually black or dark gray, which creates a good contrast.


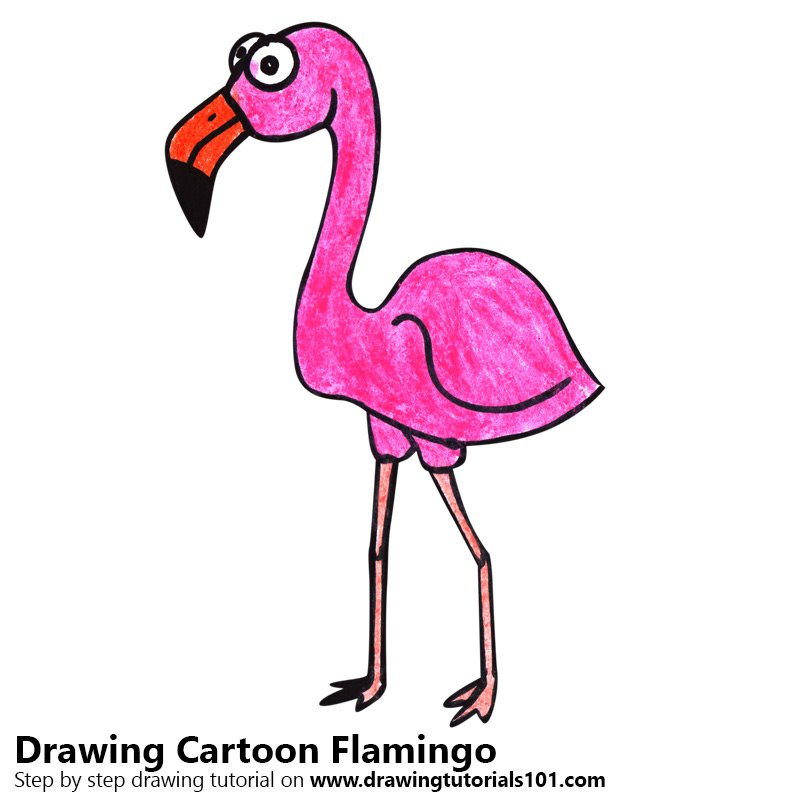
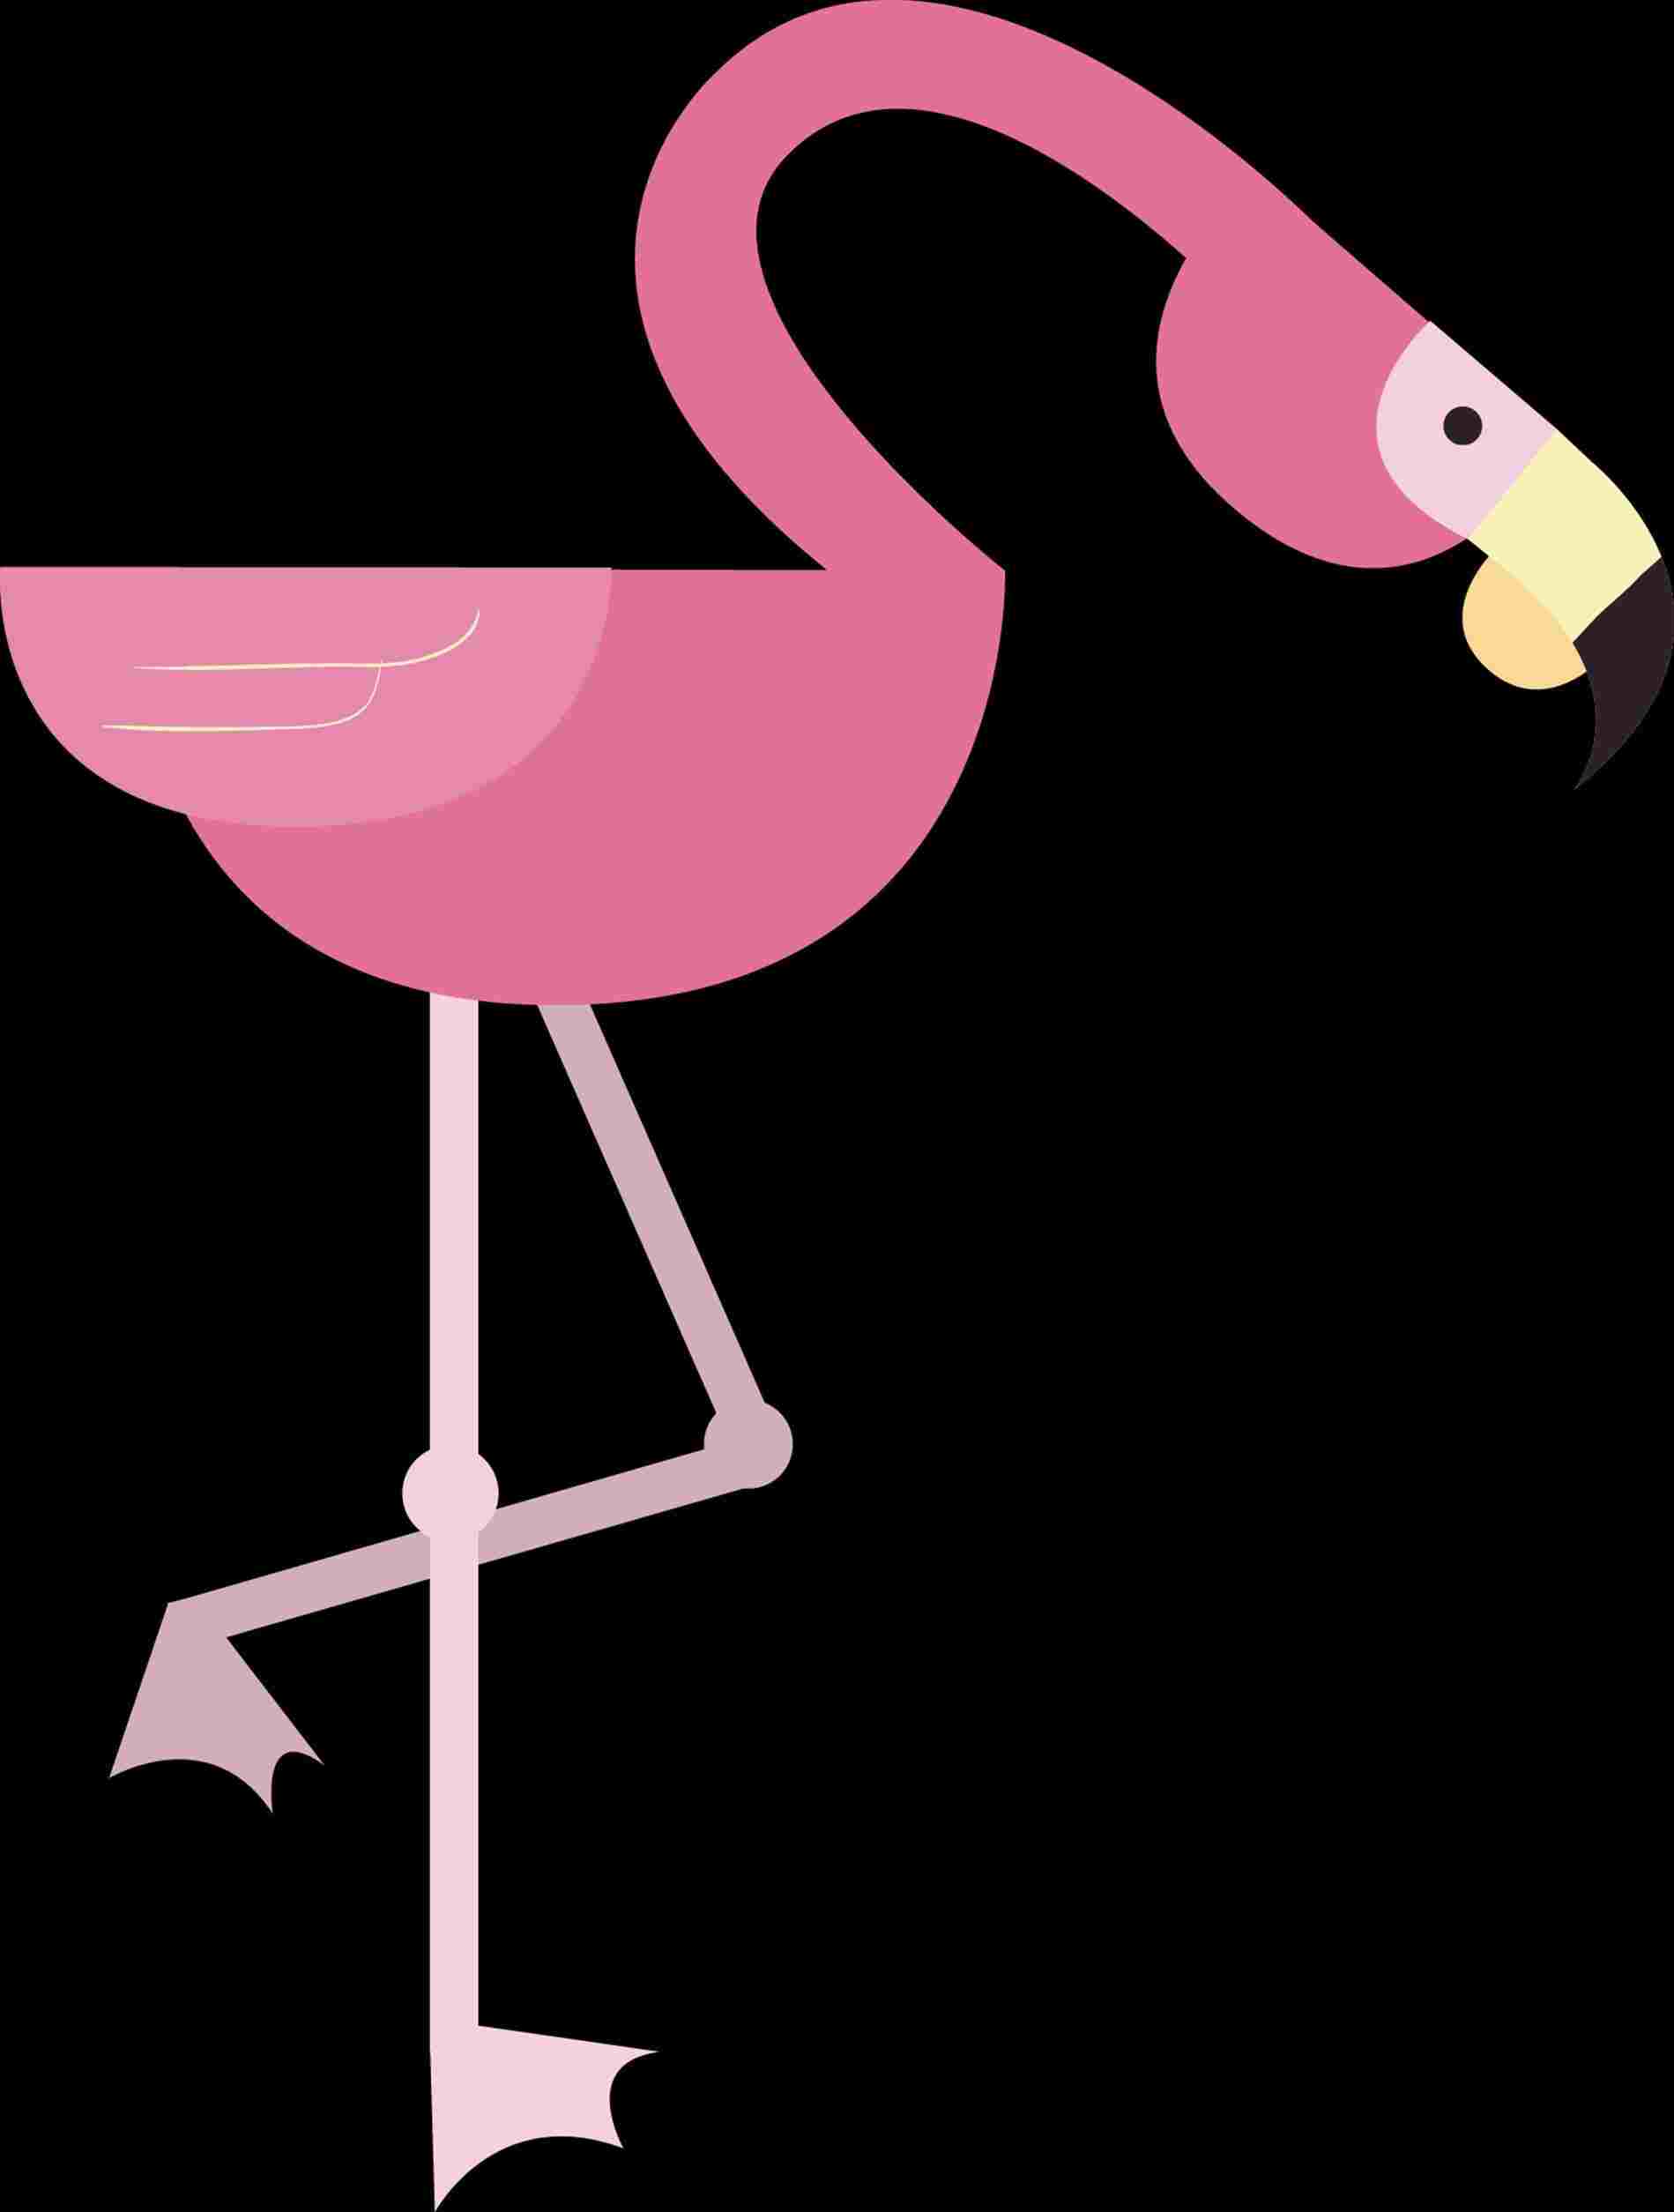
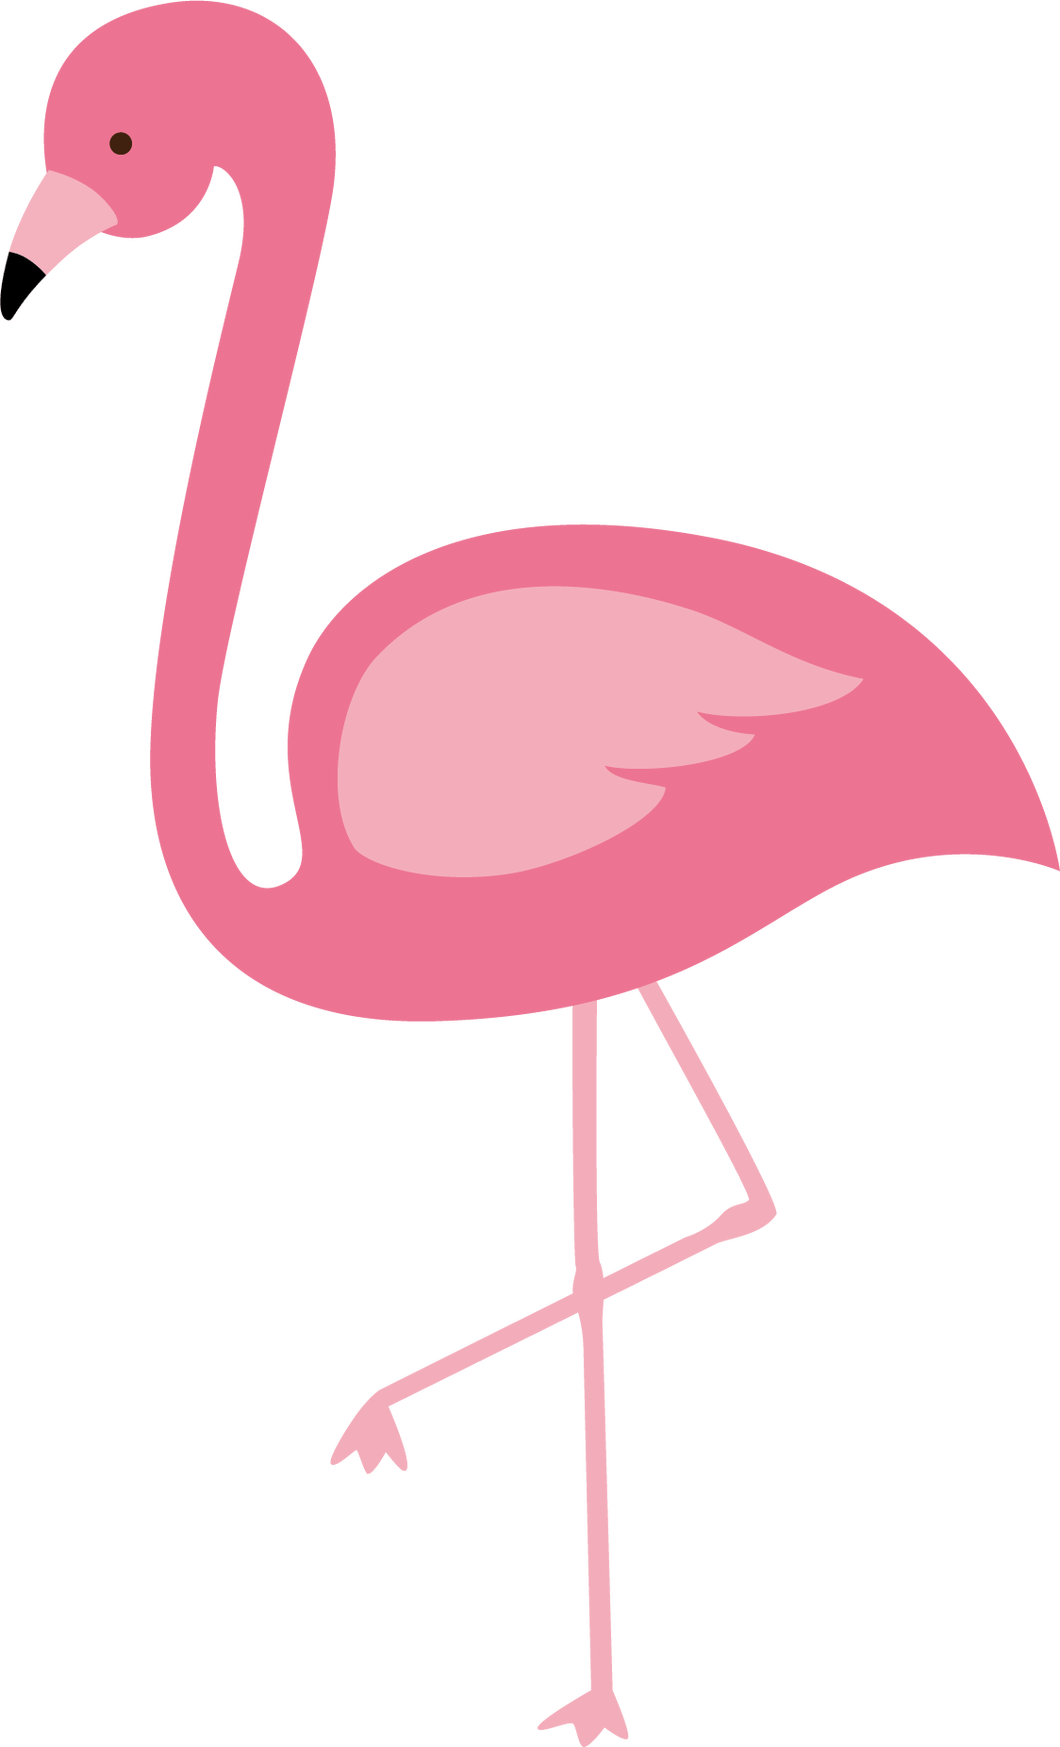
Flamingo Cartoon Drawing Free Download On Clipartmag

Flamingo Cartoon Drawing At Explore Collection Of

Aggregate 81+ Flamingo Bird Sketch Super Hot In.eteachers

Flamingo Cartoon Drawing Free Download On Clipartmag
