Sorting Out Those Briggs & Stratton Carburetor Woes
Understanding the Engine’s Grumbles
You know, that familiar buzz from a Briggs & Stratton engine? It’s like a dependable friend, right? But sometimes, it starts throwing a fit. You’ll get hard starts, a shaky idle, sudden stops, or just plain weak performance. It’s as if the engine’s trying to tell you something. And often, that something is “my carburetor needs help.” If you’re smelling gas or seeing black puffs, that’s another big clue. It’s like the engine’s having a bad reaction to its breakfast.
Figuring out what’s wrong is key. Is it just gunk in the carburetor, or something more serious inside? A quick look can reveal a lot. Check around the air intake and fuel lines for dirt. A clean engine tends to be a happy engine, and happy engines start up when you need them.
The type of gas you use matters. Old or dirty fuel can leave deposits that clog up the carburetor’s tiny channels. If the engine’s been sitting for a while, it’s smart to drain the old fuel and put in fresh stuff. Treat it like a good refreshment for your engine – it will appreciate the effort.
If you’re still not sure, try this. Pump the primer bulb a few times. If it starts for a bit and then stops, it’s likely the carburetor isn’t getting enough fuel. That usually means a blockage or a faulty fuel pump, both things you can fix during a rebuild.
Getting the Right Stuff for the Job
Tools and Things You’ll Need
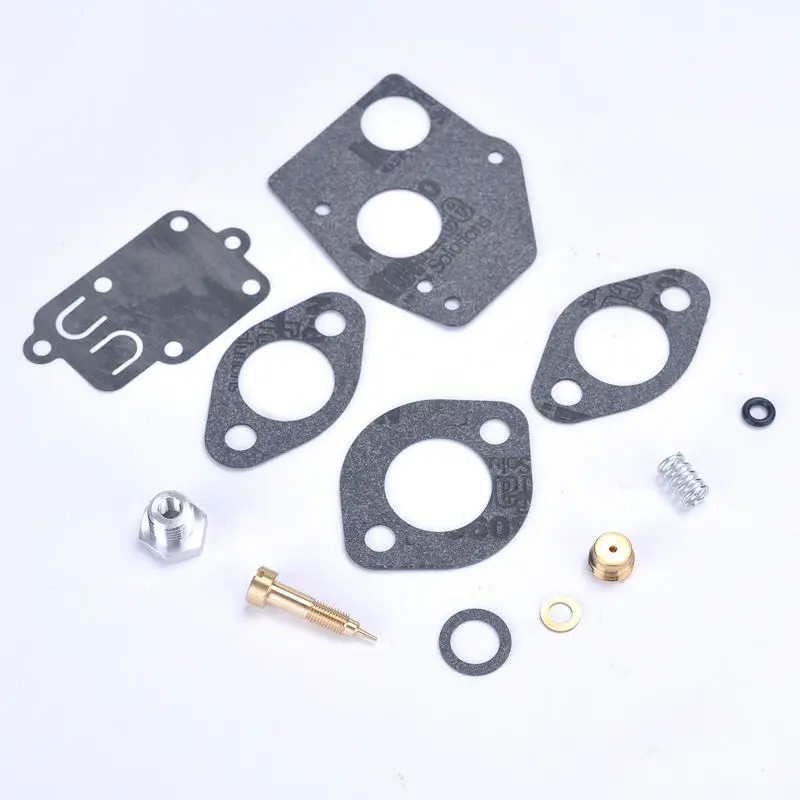
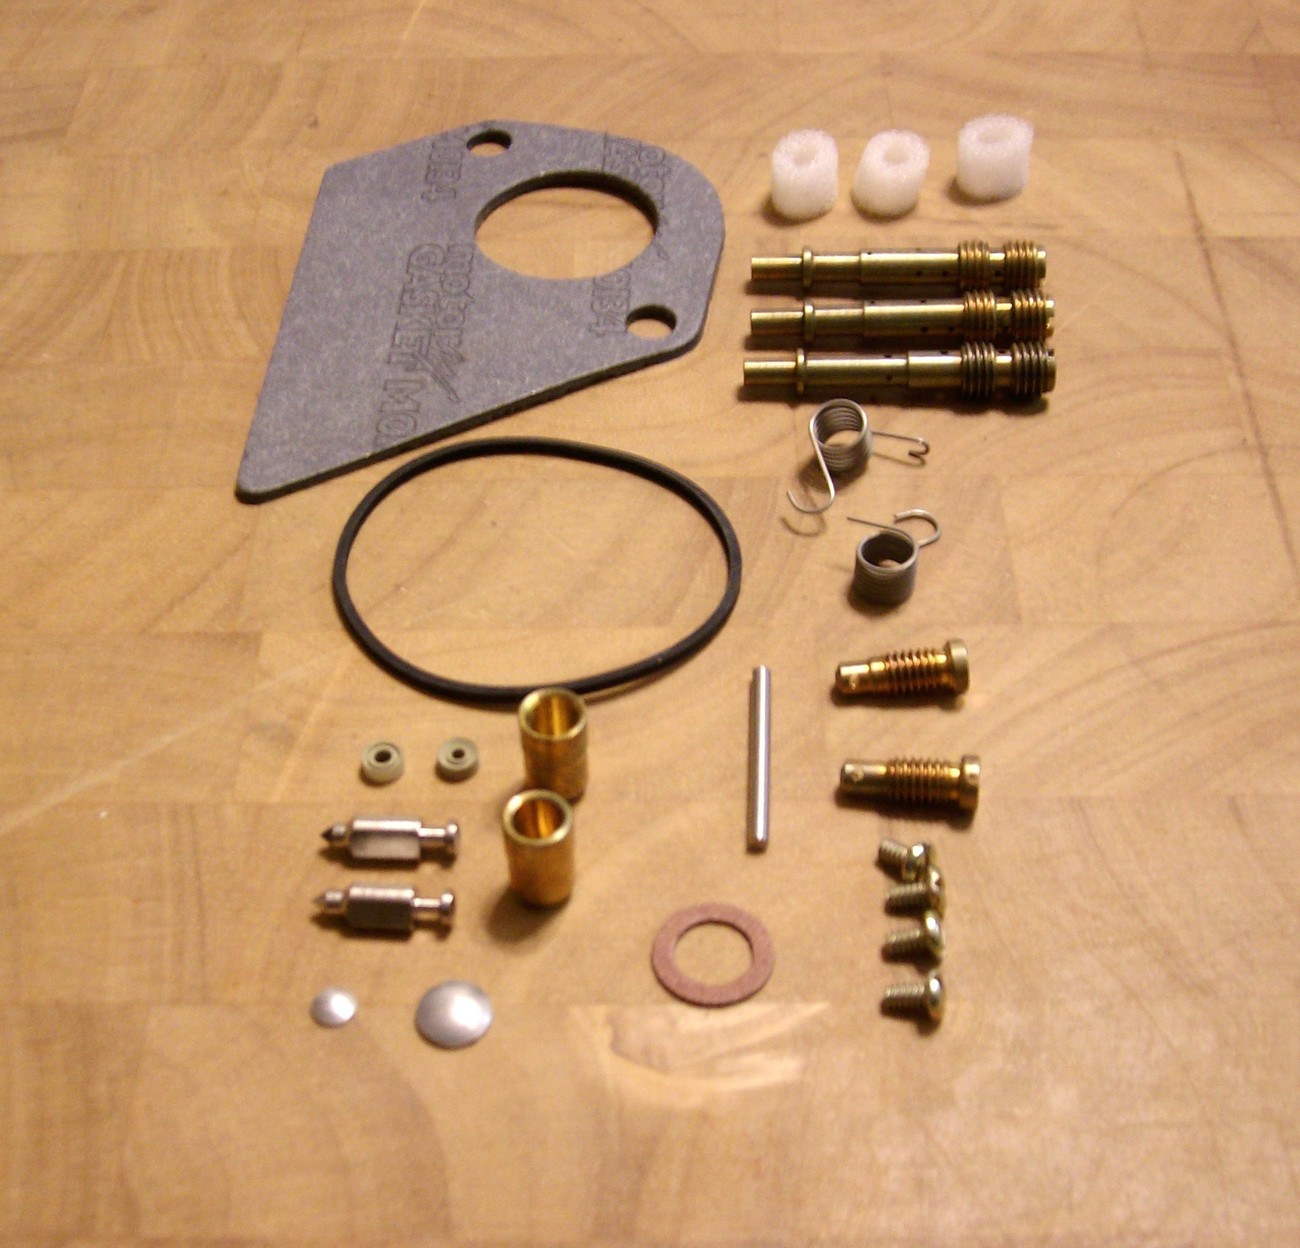
Getting into a carburetor rebuild means you’ll need some specific tools. You’ll want a socket set, screwdrivers (flat and Phillips), carburetor cleaner, compressed air, and a rebuild kit. A clean place to work is also important, somewhere you won’t lose small parts. Imagine searching for a tiny jet in a pile of leaves – not a fun task.
The rebuild kit is really important, as it has all the gaskets, seals, and jets you’ll need. Make sure it fits your Briggs & Stratton engine model. Using the wrong kit is like trying to use a wrong puzzle piece, it won’t fit.
Carburetor cleaner is your best friend here. It breaks down the gunk and varnish, cleaning the carburetor’s insides. Use it in a place with good air flow, as it can be strong smelling. And, wear gloves; you don’t want it on your skin.
Compressed air is great for cleaning out any leftovers after you’ve cleaned everything. It helps make sure all the channels are clear. A can of compressed air is much better than trying to blow through the small holes. You’ll just get dizzy.
Taking the Carburetor Apart
Step-by-Step Breakdown
Taking the carburetor apart needs a careful approach. First, take off the air filter and any other parts connected to the carburetor. Then, disconnect the fuel lines and throttle linkage. Take pictures as you go; it’ll help when you put it back together. Think of it like making a visual map of the carburetor.
Once it’s off, carefully take apart the different parts, like the float bowl, float, and jets. Notice how the parts come off, and keep them organized. A container with dividers can be useful. You don’t want to lose those small pieces. They are important.
Check each part for wear or damage. Look closely at the gaskets and seals, as they often cause leaks. If any parts are broken, replace them with new ones from the rebuild kit. Don’t try to patch a torn gasket with tape. It won’t work.
Just take your time. Rushing can cause damage or lost parts. Work carefully, and you’ll have an engine that runs smoothly.
Cleaning and Checking the Parts
Good Cleaning and Inspection Methods
Cleaning the parts is key to getting rid of built-up grime and varnish. Soak the parts in carburetor cleaner for the right amount of time, and then use a soft brush to remove any leftovers. Pay attention to the small channels and jets, as they can get clogged. You might need a small wire to poke through the tiny holes to make sure they are clear.
After cleaning, check each part for wear or damage. Check the float for cracks or leaks, and make sure the needle valve is in good shape. A bad float can cause fuel to overflow, leading to bad engine performance. Think of the float as the carburetor’s fuel level sensor – it needs to work properly.
Check the jets for blockages or damage. Use compressed air to clear any remaining debris, and make sure the channels are clear. A blocked jet can limit fuel flow, causing stops and poor performance. Looking closely under good light can help you see tiny particles that might be causing the blockages.
A clean carburetor means a happy carburetor. By cleaning and checking the parts, you’re helping your engine run smoothly. It’s like giving your engine a deep clean, and it will run much better.
Putting It Back Together and Testing
Putting it Back and Checking Performance
Putting the carburetor back together is like doing the steps in reverse. Put in the new gaskets and seals from the rebuild kit, and make sure everything lines up. Use the pictures you took when you took it apart. This is where your photos become very valuable.
Once it’s back together, put it back on the engine. Connect the fuel lines and throttle linkage, and make sure everything is tight. Double-check all connections to prevent leaks. You don’t want fuel spraying out while the engine is running.
Pump the primer bulb a few times, and then try to start the engine. If it starts and runs smoothly, you’ve done it. If it doesn’t, you might need to adjust the idle speed or mixture screws. Check your engine’s manual for instructions.
Test the engine under load to make sure it works right. Mow a small area or run the engine at full speed for a few minutes. This will help find any remaining problems. If the engine runs smoothly, you’ve successfully rebuilt your Briggs & Stratton carburetor.
FAQ: Briggs & Stratton Carburetor Rebuild
Common Questions and Answers
Q: How often should I rebuild my Briggs & Stratton carburetor?
A: How often you rebuild it depends on how much you use the engine and how well you take care of it. Usually, a rebuild is needed when the engine has problems like hard starts, shaky idling, or stopping. Regular care, like using fresh fuel and cleaning the air filter, can make the carburetor last longer.
Q: Can I clean the carburetor without taking it off the engine?
A: You can clean some outside parts while it’s still on the engine, but a good cleaning and rebuild means taking it off. This lets you clean the inside parts properly.
Q: What are the signs of a clogged carburetor?
A: Common signs are hard starts, shaky idling, stopping, weak power, and black smoke. You might also smell gas. These signs mean the carburetor isn’t getting or giving fuel correctly.
Q: What kind of fuel should I use in my Briggs & Stratton engine?
A: Use fresh, unleaded gas with an octane rating of 87 or higher. Don’t use old or dirty fuel, as it can leave deposits that clog the carburetor.

Carburetor Rebuild Briggs & Stratton Carburetor, Rebuild,

New Arrival Carburetor Rebuild Overhaul Kit For Briggs & Stratton

Briggs And Stratton 3 Horsepower Updraft Carb Rebuild Part 2 Youtube
Sonstige Briggs & Stratton 135212 135217 Carb Carburetor Rebuild Kit

